
Emseal and Watson Bowman Acme Announce New Sales Channels
Sika Expansion Joints companies Emseal Joint Systems, Ltd and Watson Bowman Acme Corp have updated their product portfolio and sales initiatives to focus on specific market sectors.
Emseal will continue the sales of Emseal branded Architectural systems, as well as Wabo® branded Commercial, Parking, and Stadium systems.
Watson Bowman Acme will focus solely on the Transportation market.
Customers purchasing Wabo® branded Commercial products and Parking/Stadium products, such as WaboCrete® Membrane Generation II, Wabo®FastFloor, Wabo®Roofcover, etc. will now purchase through Emseal. If you do not have an Emseal sales representative assigned to your business, please contact us at techinfo@emseal.com.
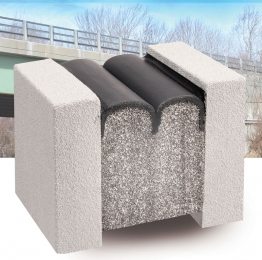
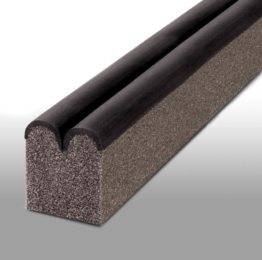
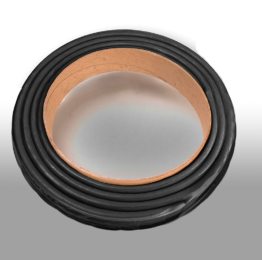
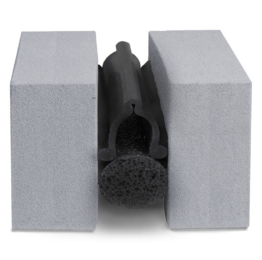
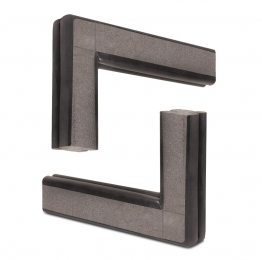
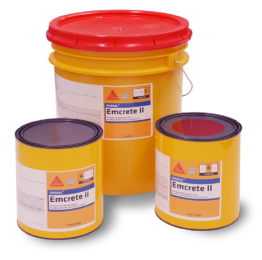
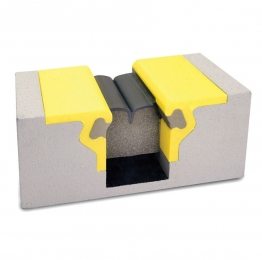
Customers purchasing Emseal Transportation (Bridge/DOT) products through Emseal Joint Systems such as BEJS, Emcrete II, Emshield® TFR/RWS, etc. will now purchase through Watson Bowman Acme. If you do not have a WBA sales rep assigned to your business, please contact us at wabo-cs@watsonbowmanacme.com.
Support for technical performance and product sales can be found on the existing websites –
Transportation Products: htps://www.watsonbowmanacme.com/
Commercial Products: htps://www.emseal.com/
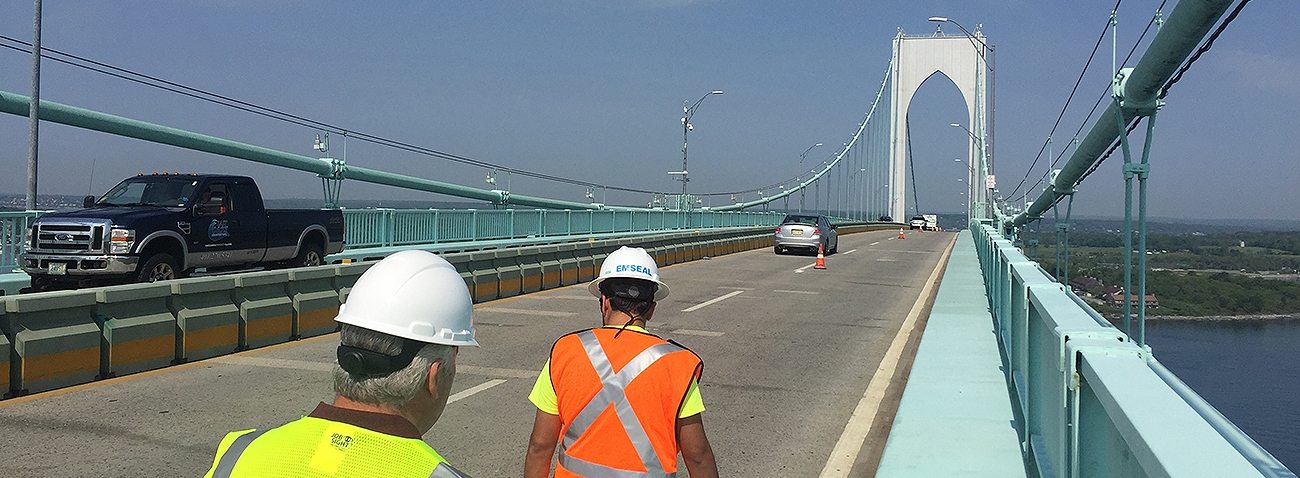
Better Together! Emseal and Watson Bowman Acme Join Bridge/DOT Product Lines
Emseal’s Bridge, DOT, and Infrastructure expansion joint solutions have now substantially grown with the addition of the products of Watson Bowman Acme. Sika Expansion Joints is a joint venture that builds on decades of successful transportation applications to now offer the best products and expertise for road, bridge, and infrastructure applications. Both companies’ products are now offered to give you the most complete expansion joint solution. Better Together.